This set if directions will walk you through initializing your account as well as self installing the Cloud sync software on your computer and your phone. This is a very simple, and well explained, set of directions. It is important that you login and setup Two-Factor Authentication as protecting your personal data is very important to us. We are using a Google app that will be used for other things in the future. If Desktop Masters hosts your mail, the Google Two-Factor Authentication can be turned on and used to protect your WebMail login as well. Below there are several areas, each area expands out as sliding cards that are selected by clicking the title of the area.. Click the header of the next area when you reach the bottom of the first area.
- Go to https://Cloud.DesktopMasters.com and login with the UserName and Temporary Password you were supplied.
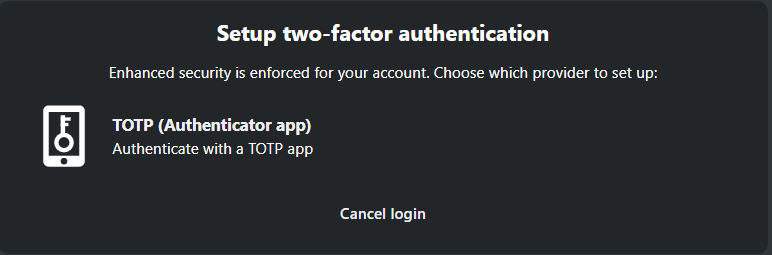
Note: On the next page you will be prompted to setup Two-Factor Authentication. - On the left side of your screen press/touch the icon with the Key in it as demonstrated here..
- You should now see a QR Code on your screen.
- On your smart phone please install the TOTP App…
- Once it is installed on your phone and the app is running. Press the red “+” sign in the lower right hand corner of the TOTP App.
- If you are logging in through your computer choose “Scan a barcode”. If you are using your phone for both actions you will want to “Enter a provided key”.
- Depending on what you chose above, point your phone at the screen and scan the QR Code on your screen or enter the “Your new TOTP secret is:” provided key from the webpage..
- Once you have done this you will now have a bar on your phone with a number and a disappearing Pi/Circle (on the right).
- Note: The circle represents the amount of time you have to type in the number.
- When you login you will be prompted for the number from this app. Simply wait till the circle is full and type the number into the computer screen and hit the [Verify] button..
Now that you are logged in, you can poke around the interface if you like. This will allow you to access your files and other things when your computer or phone is not handy.
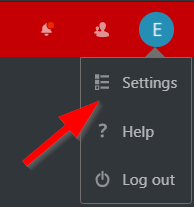
- On the top right corner of the page click the icon and go to “Settings”
- Be sure to fill in your “Full Name” and other information you like.
- Above each box is an icon representing the exposure of that information. Selecting “Contacts” allows only the people in your group to see your information. “Public” allows all users on the server to see it. This is safe, but unnecessary.
- Note: No need to save the information, it updates automatically.
- On the left choose “Security” and then setup a new password for yourself and this time remember to press the [Change password] button.
- Press the [Generate backup codes] button.
- Then the [Save backup codes] button. If it is not already set, change the filename to “Desktop Masters Cloud-backup-codes” and save the file in your documents. (This will allow you to get back in if something ever happens to your phone).
Note: If you are a Desktop Masters Maintenance Contract Client. A technician will do this section for you, or already has. Please, scroll down, and skip to the next section below, “Setup Cloud Sync on your phone”
- Go to the download page and download the client for your desktop from here: https://nextcloud.com/install/#
- Download and install the software using the defaults.
- After it installs the installer should run the client program. It will not be on top though. It often just sits in the taskbar so you may have to click on it.
- Once you do, Click the [Log In] Button…
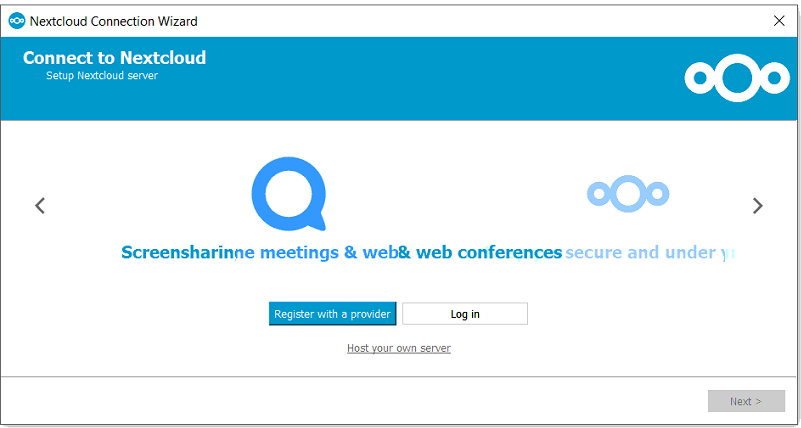
- Then fill in the Server Address box with: https://Cloud.DesktopMasters.com

- And press the [Next] button.
- The web page will open up expecting you to log into it. (You may already be logged in from before, if so, good on you).
- Once logged in you will be prompted to [Grant access].. press the button.
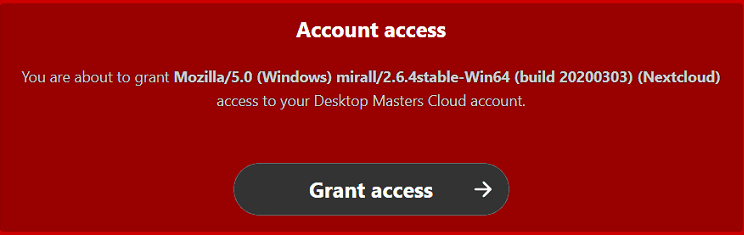
- Now that you have granted access you will be prompted to close the webpage/window. Do so and go back to the app.
- Click the “Connect” button in the lower right hand corner.
- Click on the Nextcloud logo and the folders to sync should drop down below it (If they are not already showing). Make sure all boxes are Check Marked. Shared folders are NOT checked by default and need to be selected.
- On the next window press the “[Synchronize all]” button.
- Press the “[General]” button and..
- Check the “Launch on System Startup” option.
- UnCheck the “Show sync folders in Explorer’s Navigation Pane”.
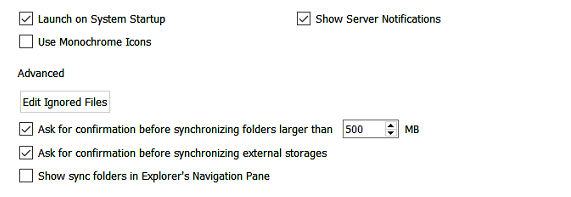
- Close the dialog.
- You should now have a “Cloud” or “NextCloud” folder off your profile folder you can create shortcuts to.
The phone app will give you direct access to your shared documents. You also can sync or move your photos up to your shared folders (with Auto Upload) making for an easy path to move them to your computer. All Desktop Masters Maintenance Contract accounts are given 1gb of personal storage space.
- To start we go to a computer and log into the website. We are going to generate a QR code that will tell the app where to log into as well as the login name and password for you. So at this point go to https://Cloud.DesktopMasters.com and login.
- In the top right corner go to the [Settings] Menu.
- On the left menu panel select “Security”. Then scroll down a bit and look for “Devices & sessions” or “Devices & sessions”.
- In the “App name” box type a name for your phone. This is for your reference and can be anything. Then click the [Create new app password] Button.
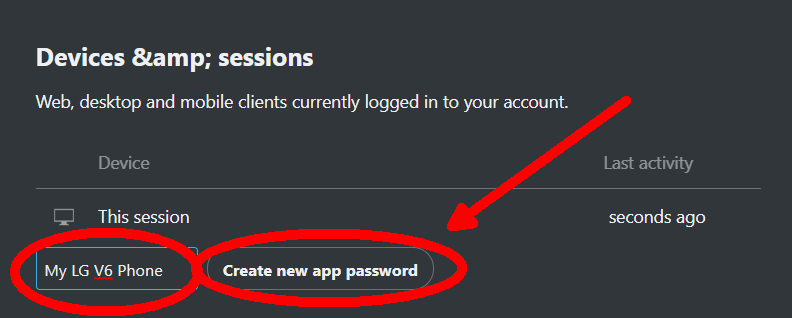
- Now that you have created the password. We will reveal a graphic that the phone can read to auto-input all the information for you., please press the “Show QR code for mobile apps”.

- This will reveal a graphic. Leave that on the screen, you will be prompted to point your phone at it later.
- Install the “Nextcloud” App from your phones store. The Icon looks like this…
- Or.. here are links to it…
- Once the app is installed, open it.
- On the login page click the [Log in] Button.

- Now click/touch the QR Code icon…
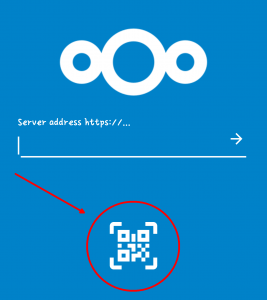
- Now point your phone at the QR Code we setup on the website up above. Give it a moment and it will configure its self and log you in.
- You are done. You can now browse your files through the Nextcloud app on your phone. Unlike your computer, files are NOT downloaded to your phone unless you select them. There is also an Auto-Upload folder you can configure.
- Note: If you wish to push/move the photos and videos on your phone to the cloud then move it into your media folder on your computer (Automatically, Wirelessly move your Camera media from your phone to your computer) then please contact your Desktop Masters Technician.